¶ Activity Overview
In this unit, you will learn about using V5 motors as software-controlled servomotors.


¶ Activity Preparation
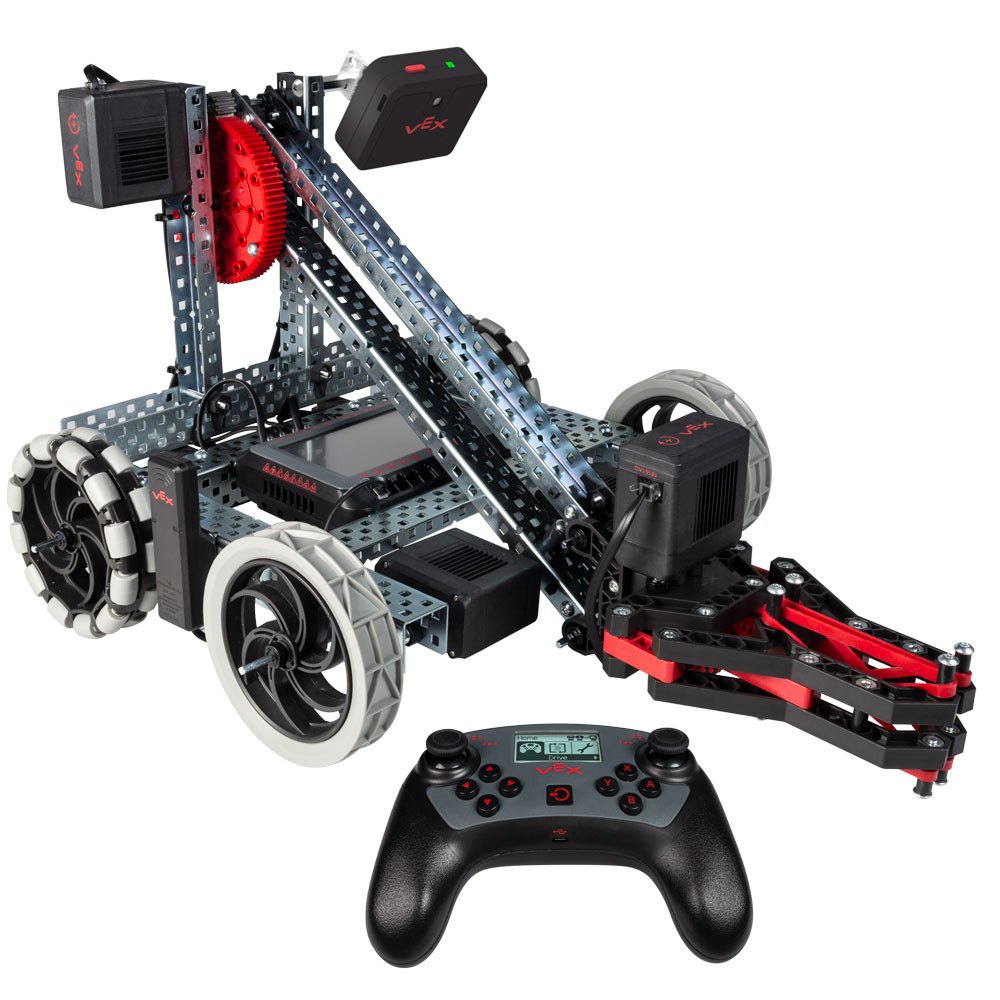
This Unit uses the V5 simple drive base, which is essentially a Clawbot without the claw. You can do this with or without the claw. If you do not have a robot, please follow the instructions in the VEX manual "Clawbot Assembly Instructions." Complete steps 1-22 to build the drive base, or all steps for the Clawbot.
Prepare your robot:
- Check to see that you have built the correct robot
- Check batteries
- Check to make sure the VEX V5 Brain is paired with Controller (if you are using the Controller)
Prepare Robot Mesh Studio:
- On the project page click on Create a New Project
- Click on Target: VEX V5 and Language: Blockly, Python or C++ (depending on your choice of language)
- Type your project name in the box. You might want to use the name of the activity as your project name.
- Click on Create
- Plug your V5 Brain into your computer using a USB A-to-micro cable (provided in the VEX kit)
- Press the power button on the Brain to turn it on
- Click on the Refresh button, and then on the Connect button in Robot Mesh Studio
- Click on Detect Sensors. The panel on the right will now show two motors. If any other sensors were installed, those would show up, too
- Check that the motors are plugged in and configured in the Interface Monitor
- Change the name of motor_15 to motor_right, and motor_16 to motor_left
¶ Student Instructions
¶ Getting Started
In this lesson, we will use Blockly to program our robot autonomously to send commands to the robot, and in this activity you will create an autonomous program that the robot will follow without your help.
¶ Introduction to Servos and Programming
In addition to their ability to turn freely as drive motors, VEX V5 motors are also capable of turning with precision in control of your software. The motors use the encoder (see activity 5) to accomplish this.
Wikipedia has a good description of a servo:
A servomotor is a rotary actuator or linear actuator that allows for precise control of angular or linear position, velocity and acceleration. It consists of a suitable motor coupled to a sensor for position feedback. It also requires a relatively sophisticated controller, often a dedicated module designed specifically for use with servomotors. Servomotors are not a specific class of motor although the term servomotor is often used to refer to a motor suitable for use in a closed-loop control system. Servomotors are used in applications such as robotics, CNC machinery or automated manufacturing.
Click here to link to Wikipedia article.
In VEX, servos are rotary actuators and are the same device used for free-turning motors. Whether the V5 motor is a servo or a drive motor is determined only by how you program them.
¶ Programming Activity
If you have built a VEX V5 Clawbot, you should use your arm motor for this activity.
If you do not have a Clawbot, you can use one of the drive motors and carefully examine how it turns. You might add a piece of tape or wire tie to the wheel so you can see how far it moves and count revolutions more easily.
¶ Relative vs. Absolute
There are two kinds of blocks you can use here. Relative blocks move the motor a designated distance from the motor's current position:

Absolute blocks move the motor to a certain position, regardless of where the motor is currently:

An analogy might help, you can either walk five miles down a road, or you could walk to mile marker 25. The mile marker might be 100 miles away, or you might be standing next to it, but "five miles down the road" is the same as "walk five miles from where you are now." (Or kilometers, if you prefer.)
¶ Downloading and Testing Your Program
Plug your robot into your computer, and make sure the VEX V5 Brain is turned on.
Caution! Your program will run as soon as you download it, so make sure your robot is on the floor or someone is holding it. You do not want to drive it off the table!
Click Run to download your program to the robot. You should now see "Download Done" in a green bar at the bottom of the screen.
Unplug your robot, and set it on the floor.
On the Brain, use the up-arrow and down-arrow buttons to highlight the program you downloaded.
Making sure that you robot is in a safe area and no one has their hands or eyes near it (wear safety glasses), push the check-mark button on the Brain to start your program. Run it more than once if you want to.
You can see the differences in the two types of blocks by entering and running these programs on your robot. These are written for a Clawbot with a 84:12 reduction ratio. The first uses the relative position rotate block:

And this one uses the absolute block:

Try adding a sleep block at the end. How did the program behave differently?
¶ Exploring the Servo Abilities of the V5 Motor
We are going to to start with the most common arm lift command in VEX robots, which is to lift an arm to a certain location, then hold it there. We know that running the left motor in reverse will be counter-clockwise, when viewed from the right side of the robot. To make the arm lift 45 degrees, we want to use the "motor rotate to position " block like this:

If you have a clawbot, substitute the arm lift motor for motor_left.
If you are using the wheel to show this, the wheel should have rotated to 45 degrees and held. If you used the clawbot, the arm would not have raised very much since the arm is geared and one revolution of the motor shaft is only 1/7th of a revolution of the arm itself. To lift a geared mechanism, like an arm, you need to turn the motor shaft seven times longer. Since 45 degrees x 7 is 315, you should try 315 in the above code.
How would it work to lift the arm, hold it for a while, lift it again, hold for awhile, then lower it back to the start position. Maybe something like this, using revolutions instead of degrees for the second lift:

You can also use the rotate to position block, which means you do not have to pick "forward" or "reverse," but can simply move the arm to a location. From the start, negative moves clockwise facing the mechanism from the end, and positive values more counter-clockwise. Zero is where the motor shaft started when the program began. This program sets the arm to -.25 revolutions, then to -.15 revolutions, to finally back to zero.

The rotate in a direction block moves the motor shaft in a particular direction for a defined distance, where the second block moves the shaft to a specific location, regardless of what the motor shaft's location was when the command was issued.
There are times where you might want to start a mechanism moving and do something else while it does so. Enter and run this program, up on your blocks (not on the floor!):

We added a gold (non-blocking) command to start the right drive motor spinning, while issuing location commands on the left motor. What happened?
¶ Post-Activity Checkup
1. How is the rotate forward/reverse block different from the rotate to position block?
2. Why do you think we added sleep blocks to these programs? What would happen without sleep blocks?
3. When we added the right motor command, why did we use a gold block? Whey did we add a motor stop block for the right motor?
4. If you tried the motor wheel arm, how strong was the lifting action?